

Tempest 2 and Tempest 2 Slim Manual
- Please read the instructions before use.
- Before the first use, thoroughly clean the parts, following the instructions in the cleaning section of the manual.
- Hot surfaces — risk of burns. Do not touch the cap during or immediately after heating. Allow to cool. Do not place in a pocket while hot.
- Keep out of reach of children. Small parts. Not a toy.
- For adult use only (21+). Not intended during pregnancy or breastfeeding. If you have respiratory problems, consult a doctor before use.
- Use only with suitable dry herbs sold for this purpose. Not for tobacco, nicotine, or illegal substances. Not a medical device.
- Use a suitable torch or compatible induction heater in a clear area. Never leave a lit torch unattended. Never leave a charging device unattended.
How to use
Loading the bowl
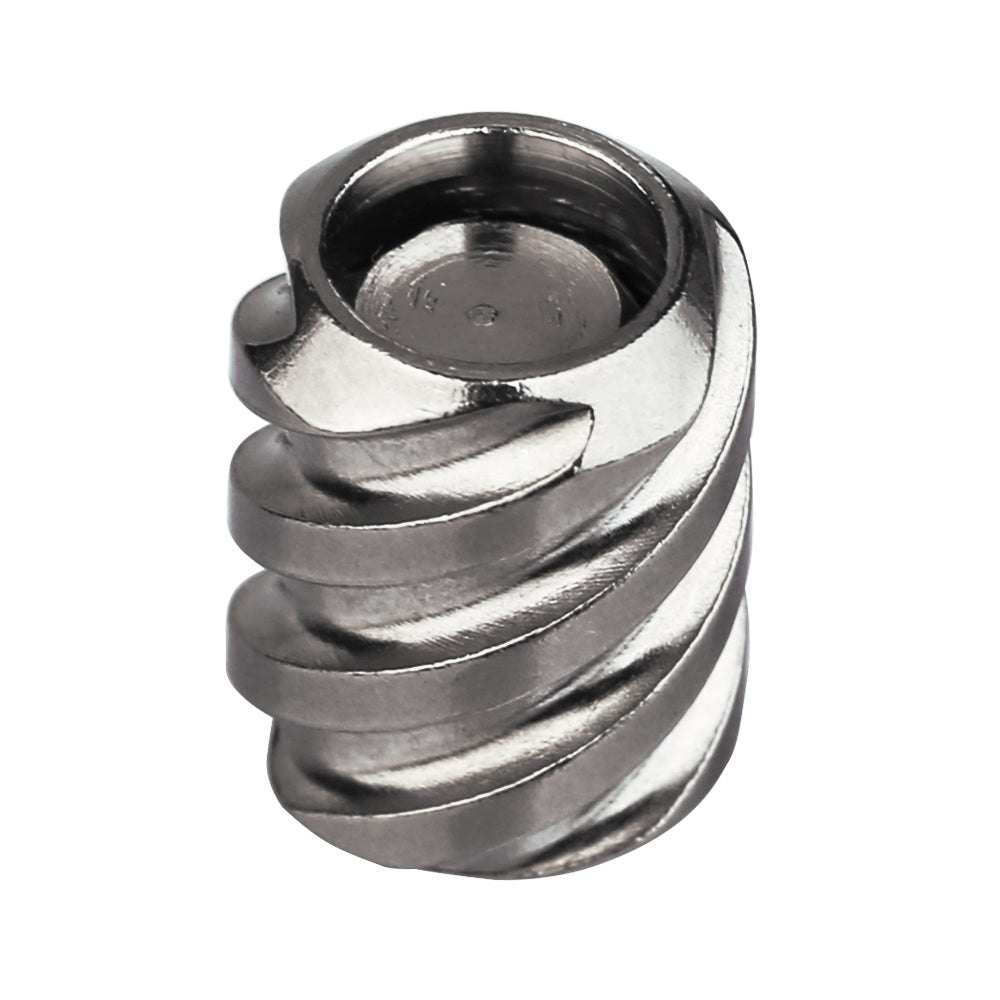
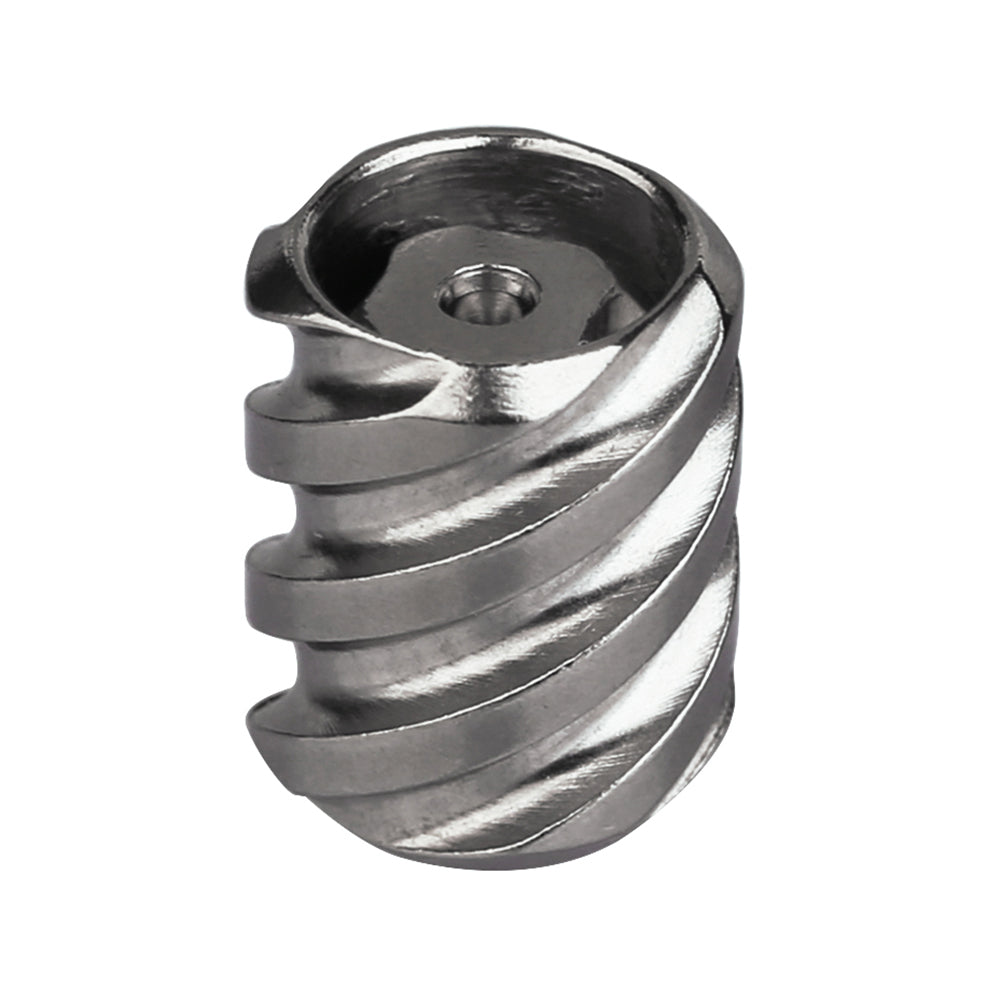
Unscrew the Cap. Fill the bowl by pushing it into your ground material, or use the vacuum/straw method. Keep the threads clean and make sure air can flow. Tamp lightly only. Screw the Cap on gently until it is fully closed. Avoid touching the steel parts of the Cap (the indicator housing and induction sleeve), as oil from your fingers can burn onto them.
Heating with the YLL 3.0 IH
Read the YLL setup section below. Set the heater for your thermal media using the settings table. Heat until Timeout.
Heating with a torch
Hold the flame tip about 1 cm (1/2 inch) from the Cap. Rotate the device slowly for even heating while you watch the visual indicator and listen for the click. The first click usually comes at the lower end of the ideal temperature range. The indicators respond to where on the Cap you apply heat. Never heat the indicators directly. Use a dual, triple, or medium-size single-flame torch.
Debowling
Hold the hot Cap securely with the Tempest Case or the Reload's magnet. Twist it off and empty the used material. To release the device from a magnet, tilt it; don't pull it. The Cap stays very hot for several minutes, so store the device somewhere safe. The Leather Case and Tempest Case are safe for storage even while the Cap is hot.
Additional info
- For best results, take long, slow draws and cover the stem's air intake for most of the draw.
- The click discs change slightly after the first 30–50 uses. The Cap has two click discs, but they may click at the same time.
- When reheating, stop heating one marking earlier on the visual indicator than you did the first time.
- The visual indicator keeps moving as the heat spreads and evens out inside the Cap. Never heat the indicators directly.
- Avoid touching the heated parts of the Cap, as oil from your fingers will burn onto them.
- When pushing the bowl onto the stem, twist it as you push to protect the O-rings.
Setting up the YLL 3.0 Induction Heater
- Remove the battery cover.
- Place the C-shaped 3 mm plastic spacer on the silicone pad at the bottom of the heating chamber.
- Refit the battery cover.
- With the heater still switched off, stand it on a table. Use the Cap of your Tempest to press the silicone pad and ceramic disc down onto the spacer. This sets the correct depth.
If you lower the power (W), increase the heating time. If you raise the power, shorten the timer to avoid combustion. Heating longer at lower power warms the bowl more evenly before the first draw, which suits several short puffs.
The Cap holds a lot of residual heat. When reheating a warm Cap, take 8–12 seconds off the timer; don't lower the watts. Stop one marking earlier than usual on the visual indicator, or use the first click as your cue.
Adjusting the airflow
Cap airflow
Loosen the screw on top of the Cap, turn the induction sleeve to set the airflow, then retighten the screw. If the screw is too tight, use the included flathead screwdriver bit with a large handle and follow "Remove an over-tightened Cap screw" below.
Tempest 2 Slim stem airflow
Loosen the small ring below the heat shield to adjust or fully close the stem's air intake.
Tempest 2 stem airflow
Loosen the mouthpiece and turn the heat shield to adjust or fully close the stem's air intake.
Induction Heater Settings for each thermal media
Higher fill-weight balls store heat longer → smoother, slower heat-up
Lower fill-weight balls heat up faster → quicker, punchier hit
Lower the YLL 3.0 wattage to preheat the bowl more before your draw. This gives a faster ramp-up once you start inhaling, which is especially helpful for mouth-to-lung (short puff) use.
The Wand IH's temperature setting works as a timer; it doesn't show the actual temperature. Wand IH values are for the V3 adapter, heating until "Timeout".
The settings below apply only when heating from room temperature. Fill weights are approximate; actual ball sizes can vary slightly.
The Cap holds a lot of residual heat. On a warm Cap, take 8–12 s off the timer; don't lower the watts. Stop one marking earlier than usual on the visual indicator.
Recommended settings for Stainless Steel Caps
| Ball Material | Fill Weight | YLL 3.0 Settings |
Wand Temp |
|---|---|---|---|
| SS Heater Core | 5.4 g | 60 W → 60 s (cap) 80 W → 52–57 s 100 W → 40–43 s |
370 °C / 700 °F |
| Stainless Steel | 4.6 g | 60 W → 60 s (cap) 80 W → 50–55 s 100 W → 38–42 s |
360 °C / 680 °F |
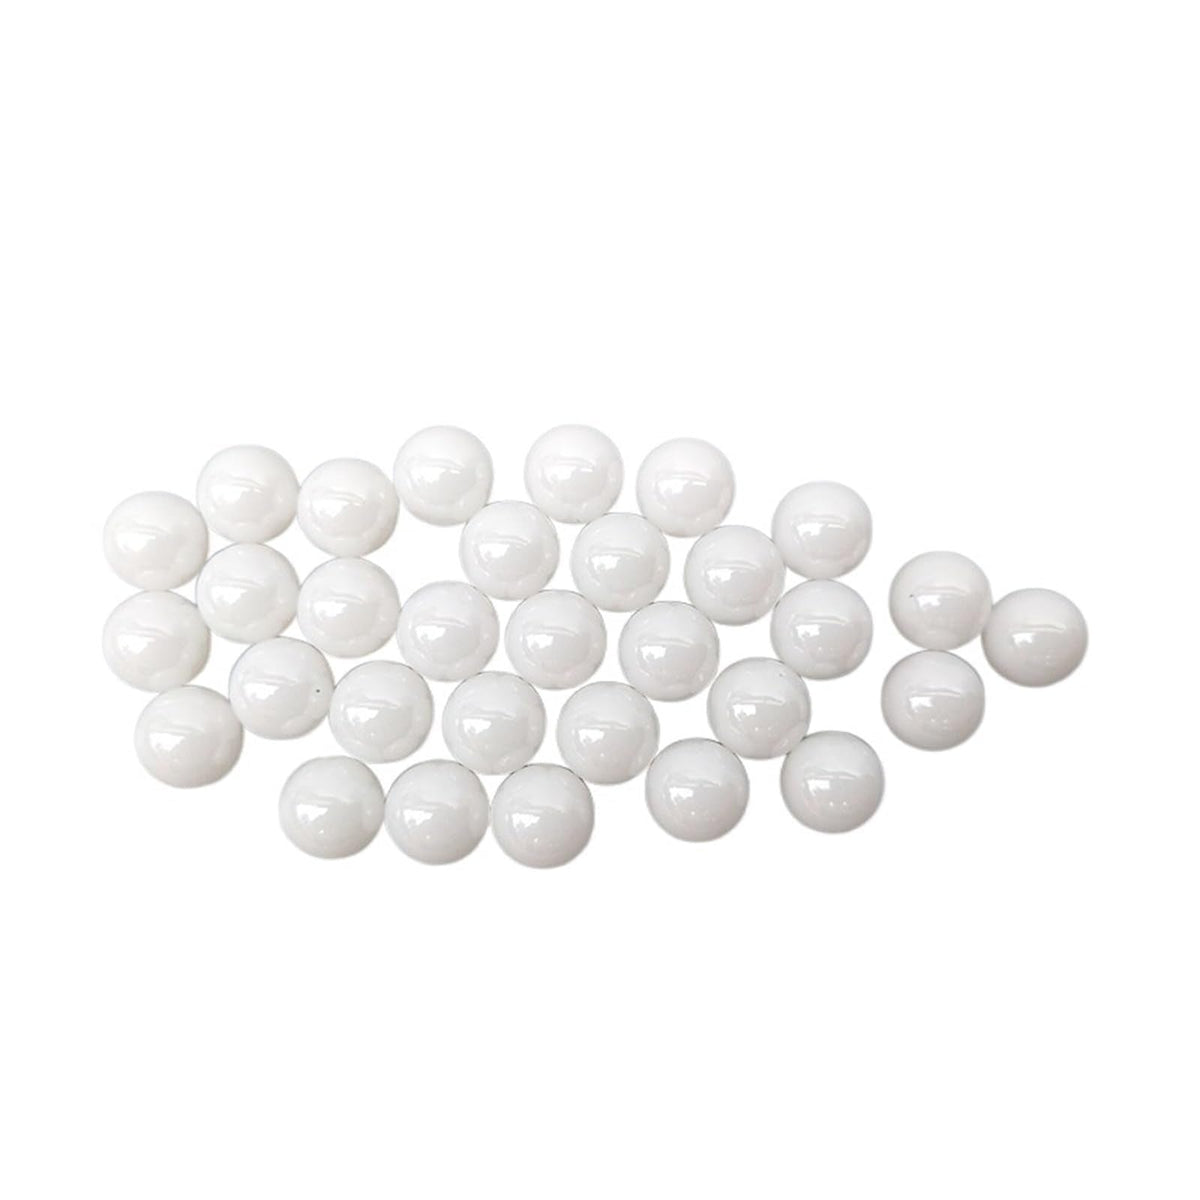
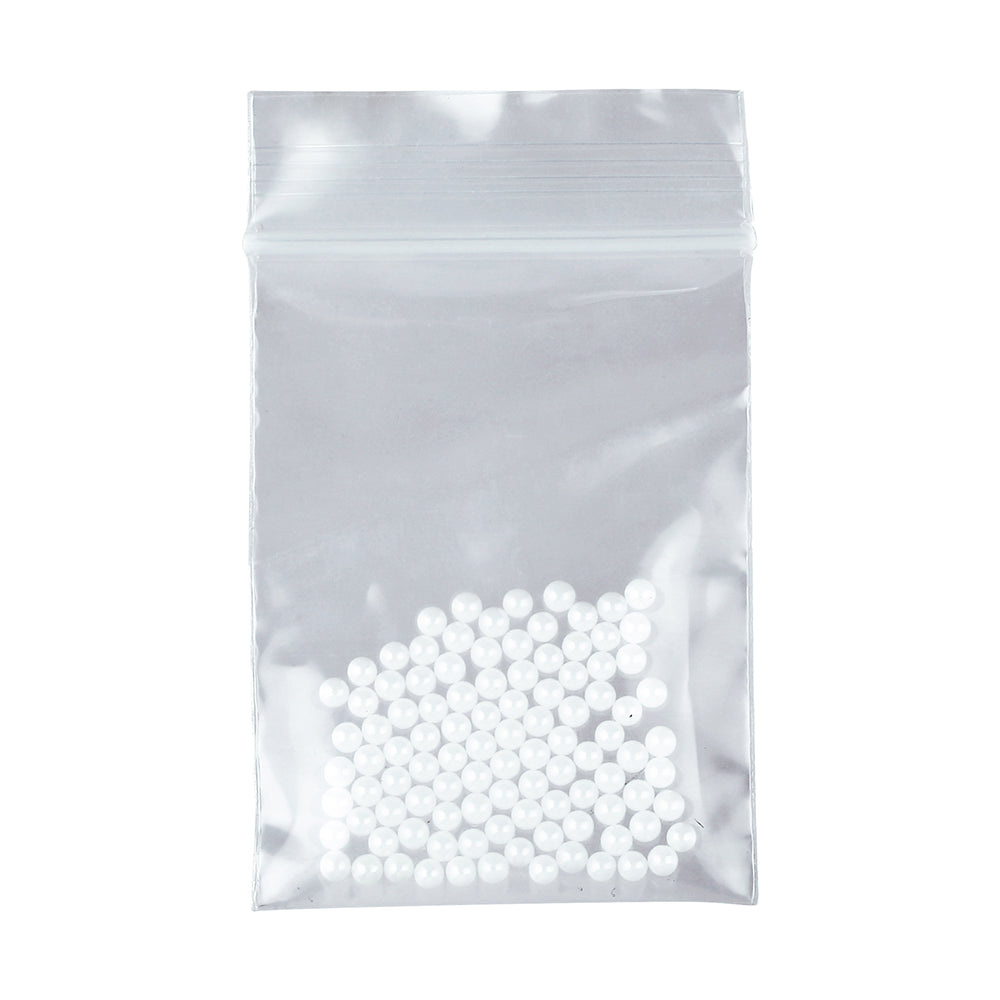
| Zirconia | 3.5 g | 60 W → 55–60 s 80 W → 46–50 s 100 W → 35–38 s |
340 °C / 645 °F |
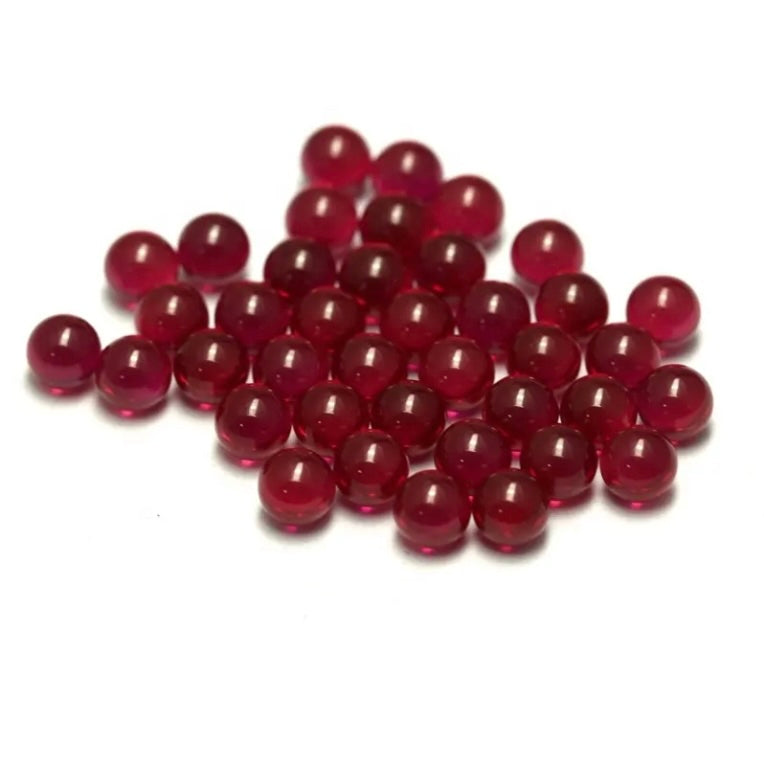
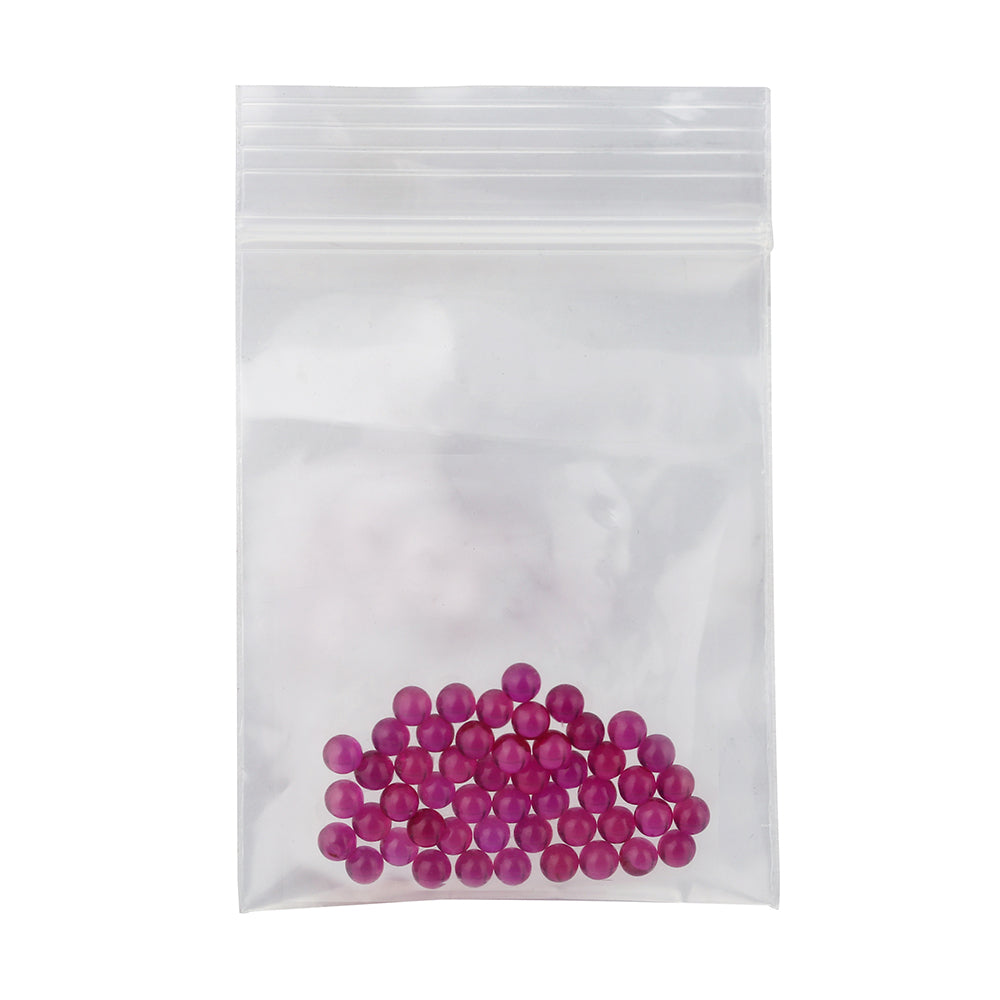
| Ruby | 2.2 g | 60 W → 55–60 s 80 W → 46–50 s 100 W → 35–38 s |
340 °C / 645 °F |
| Ti Heater Core | 3.0 g | 60 W → 55–60 s 80 W → 44–48 s 100 W → 33–36 s |
330 °C / 625 °F |
| Silicon Carbide | 1.8 g | 60 W → 52–57 s 80 W → 40–45 s 100 W → 31–34 s |
320 °C / 610 °F |
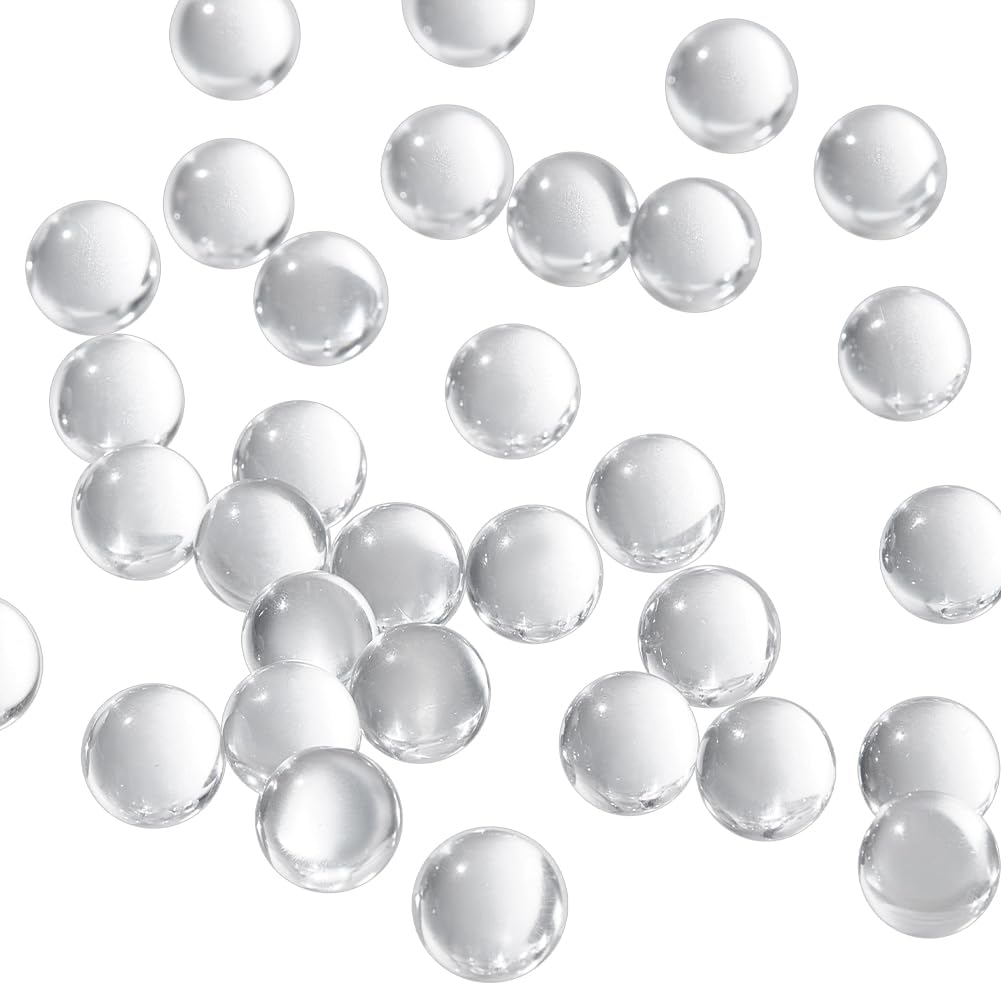
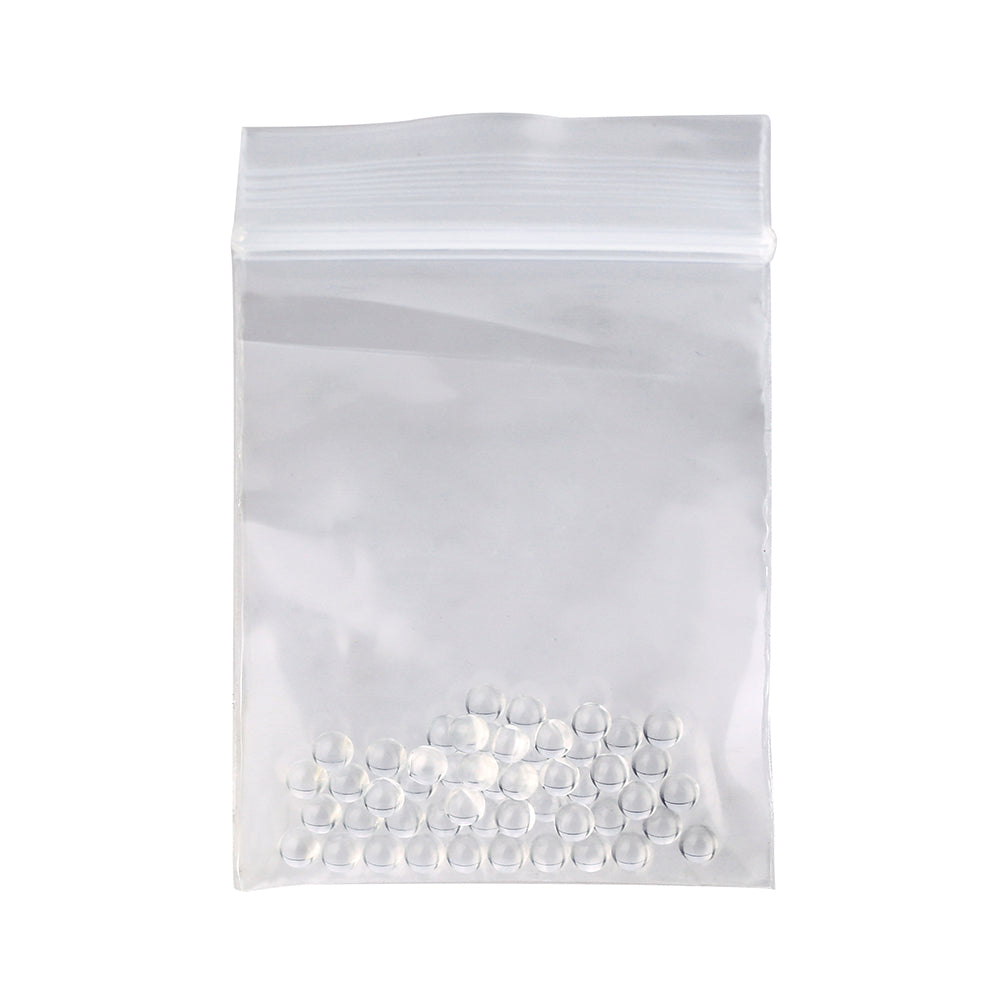
| Quartz Glass (Default) | 1.3 g | 60 W → 50–54 s 80 W → 39–43 s 100 W → 29–32 s |
310 °C / 590 °F |
Recommended settings for Titanium Caps
| Ball Material | Fill Weight | YLL 3.0 Settings |
Wand Temp |
|---|---|---|---|
| SS Heater Core | 5.4 g | 60 W → 52–57 s 80 W → 41–46 s 100 W → 31–35 s |
330 °C / 625 °F |
| Stainless Steel | 4.6 g | 60 W → 49–54 s 80 W → 38–43 s 100 W → 29–32 s |
320 °C / 610 °F |
| Zirconia (Default) | 3.5 g | 60 W → 45–50 s 80 W → 35–40 s 100 W → 27–30 s |
280 °C / 525 °F |
| Ruby | 2.2 g | 60 W → 45–50 s 80 W → 35–40 s 100 W → 27–30 s |
280 °C / 525 °F |
| Ti Heater Core | 3.0 g | 60 W → 52–57 s 80 W → 33–38 s 100 W → 25–28 s |
270 °C / 510 °F |
| Silicon Carbide | 1.8 g | 60 W → 40–45 s 80 W → 31–36 s 100 W → 24–27 s |
260 °C / 490 °F |
| Quartz Glass | 1.3 g | 60 W → 39–43 s 80 W → 30–35 s 100 W → 23–26 s |
250 °C / 480 °F |
Recommended settings for Stainless Steel Caps
| Ball Material | Fill Weight | YLL 3.0 Settings |
Wand Temp |
|---|---|---|---|
| SS Heater Core | 5.4 g | 60 W → 60 s (cap) 80 W → 52–57 s 100 W → 40–43 s |
370 °C / 700 °F |
| Stainless Steel | 4.6 g | 60 W → 60 s (cap) 80 W → 50–55 s 100 W → 38–42 s |
360 °C / 680 °F |
| Zirconia | 3.5 g | 60 W → 55–60 s 80 W → 46–50 s 100 W → 35–38 s |
340 °C / 645 °F |
| Ruby | 2.2 g | 60 W → 55–60 s 80 W → 46–50 s 100 W → 35–38 s |
340 °C / 645 °F |
| Ti Heater Core | 3.0 g | 60 W → 55–60 s 80 W → 44–48 s 100 W → 33–36 s |
330 °C / 625 °F |
| Silicon Carbide | 1.8 g | 60 W → 52–57 s 80 W → 40–45 s 100 W → 31–34 s |
320 °C / 610 °F |
| Quartz Glass (Default) | 1.3 g | 60 W → 50–54 s 80 W → 39–43 s 100 W → 29–32 s |
310 °C / 590 °F |
Recommended settings for Titanium Caps
| Ball Material | Fill Weight | YLL 3.0 Settings |
Wand Temp |
|---|---|---|---|
| SS Heater Core | 5.4 g | 60 W → 52–57 s 80 W → 41–46 s 100 W → 31–35 s |
330 °C / 625 °F |
| Stainless Steel | 4.6 g | 60 W → 49–54 s 80 W → 38–43 s 100 W → 29–32 s |
320 °C / 610 °F |
| Zirconia (Default) | 3.5 g | 60 W → 45–50 s 80 W → 35–40 s 100 W → 27–30 s |
280 °C / 525 °F |
| Ruby | 2.2 g | 60 W → 45–50 s 80 W → 35–40 s 100 W → 27–30 s |
280 °C / 525 °F |
| Ti Heater Core | 3.0 g | 60 W → 52–57 s 80 W → 33–38 s 100 W → 25–28 s |
270 °C / 510 °F |
| Silicon Carbide | 1.8 g | 60 W → 40–45 s 80 W → 31–36 s 100 W → 24–27 s |
260 °C / 490 °F |
| Quartz Glass | 1.3 g | 60 W → 39–43 s 80 W → 30–35 s 100 W → 23–26 s |
250 °C / 480 °F |
Adjusting bowl size
Use the included steel tube to set the bowl to 0.6 cc, 0.9 cc, or 1.2 cc (about 0.1 g, 0.15 g, or 0.2 g). The Tempest 2 Slim also has an extra, smaller 0.3 cc (about 0.05 g) setting. For the half (0.6 cc) or three-quarter (0.9 cc) size, push the screen all the way to the bottom first, then push it slowly back up from the neck side until it is seated. The Bowl Screen Tool makes this easier.
Installing the Heater Core
The two-layer Heater Core replaces the balls for more conduction and easier cleaning. On the larger outer part, the wider opening faces the indicator end. The small part can face either way. Before fully closing, check that the screen's three ears are inside the metal rail, then turn the screen until it clicks into place.
Replacing the balls
Fill the chamber with balls until they are just below the screen's slot line (approximately 40 x 3 mm). Make sure the screen is flat, with the arrow marking pointing clockwise. Guide its three ears gently into the three openings and rail without pressing down on the screen. Before fully closing, check that the screen's three ears are inside the metal rail, then turn the screen until it clicks into place. If the three ears don't fit easily into the rail, check that you haven't overfilled the chamber with balls and that the screen is flat.
Bowl locking tabs
Turn the bowl so the locking tabs line up with the slots on the stem. This gives a better grip when opening the bowl.
Flattening the bowl and ball retaining screen
Always flatten the screen before installing it. A bent screen may not tighten properly and can come loose inside the bowl or Cap.
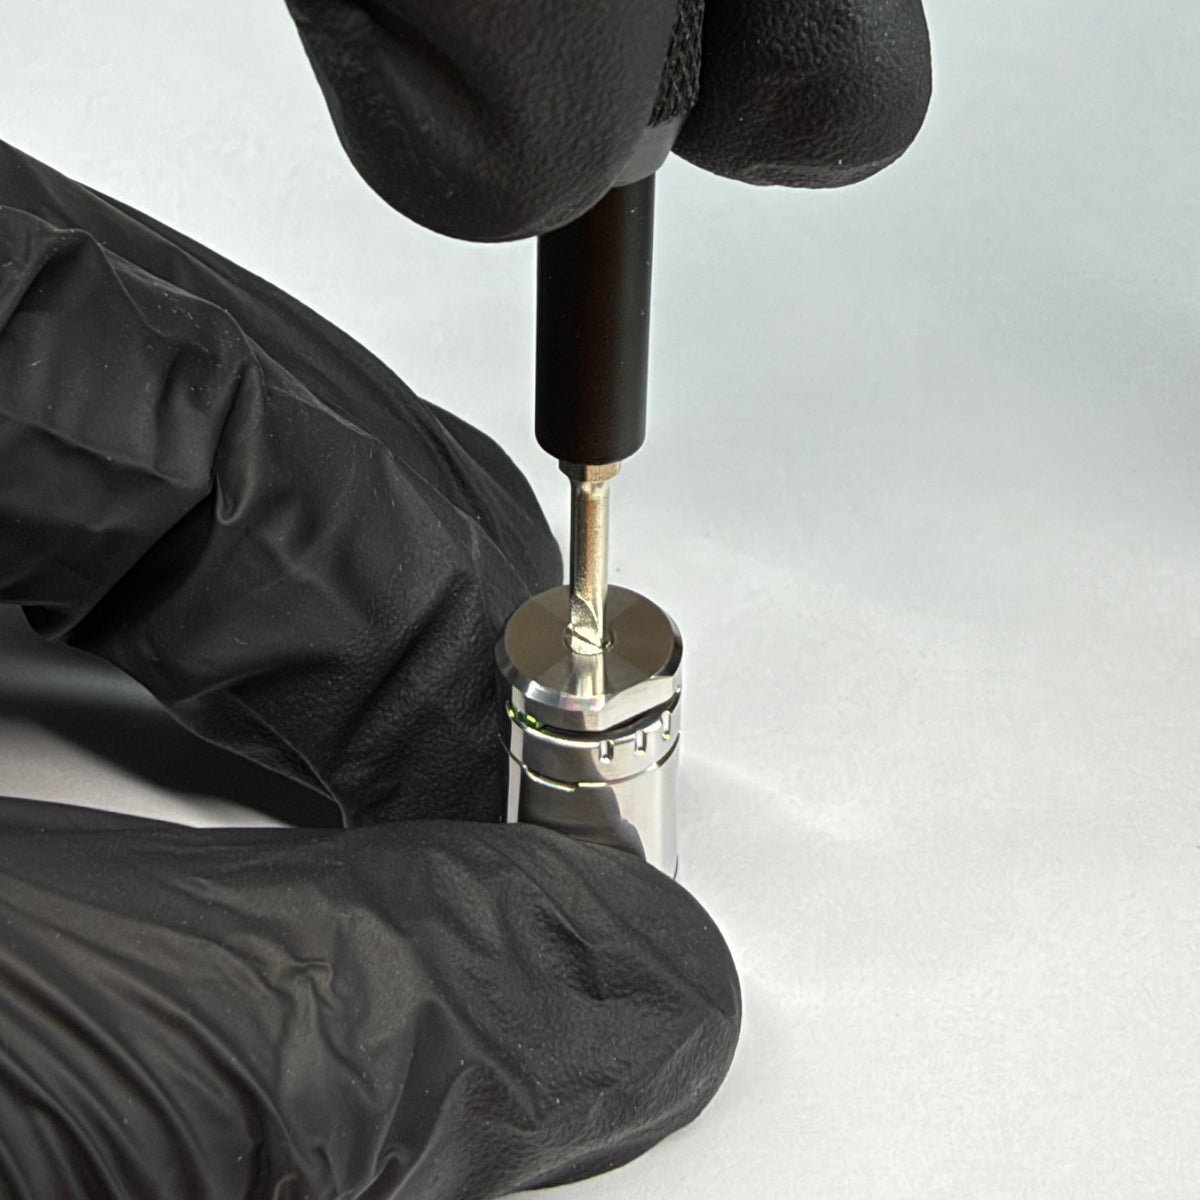
Remove an over-tightened Cap screw
Use the included screwdriver bit, or any 2.5 mm or 3 mm flathead jeweler's screwdriver with a large handle for better grip and control. Do not use an electric screwdriver.
Hold the Cap as shown in the image above. Press the screwdriver firmly down against a table or other solid surface while turning counterclockwise. This stops the driver from slipping and damaging the screw head.
Disassembling the Tempest
Bend or straighten the Cooling Unit slightly to adjust the fit within the Stem.
Tempest 2 Slim Disassembly
Tempest 2 Disassembly
Cleaning
First Use & Deep Cleaning
Recommended for a brand-new device and after every 100 bowls.
Soak the fully assembled device (excluding the wood heat shield) in 99% isopropyl alcohol (IPA) for at least 30 minutes. Place it in a zip-lock bag and shake periodically to ensure every surface is thoroughly cleaned.
Drain the alcohol. Rinse everything inside the bag with warm water. Soak again in fresh IPA and shake for another minute to remove any remaining residue.
When the device is new, wipe every part thoroughly with Q-tips soaked in IPA.
Take the device apart into its main parts, remove the bowl screen, and rinse well under warm running water. Blow through the Cap a few times to clear excess liquid. Wipe the parts dry, reassemble the device, and dry it completely by heating an empty bowl with a torch or an IH. The Cap will sizzle as the remaining liquid evaporates.
Important: use only the slightest amount of wax or lubricant on the bowl O-rings, and only if needed. They should stay mostly dry.
The fully assembled Cap (including indicators and balls) can safely go into cleaning solutions and water.
After cleaning, dry the Cap right away: shake out as much liquid as possible, then heat the Cap once with an empty bowl to evaporate any remaining moisture.
Quick Cleaning
Recommended after every 30 bowls, for fast maintenance between deep cleans:
- Spray IPA onto the cooling spiral while holding a paper towel underneath, then twist the spiral off and on a couple of times.
- Use a Q-tip soaked in IPA to clean the inside of the stem and remove the bowl screen from below.
- Use a water-based wet wipe to clean the mouthpiece and the outside of the bowl. Roll up the wipe to clean the inside walls of the bowl.
Restoring Shine & Removing Scratches
(Stainless steel and titanium parts)
Soak the entire Cap in 5% white vinegar for 1–2 hours.
Rinse well with clean water and dry completely right away.
If the steel is still tarnished, you can extend the soak to 12–24 hours. However, you must first remove the indicators from the induction housing.
For scratch removal or a higher shine:
- Clean the surface with IPA first.
- Polish lightly with 2000–3000 grit polishing paper. Hold the paper between two or three fingers with light pressure and rotate it evenly around the part.
- Clean again with IPA and repeat as needed.
- For a mirror finish, buff with Autosol polishing paste on a microfiber cloth. Clean with IPA one last time to remove all residue.
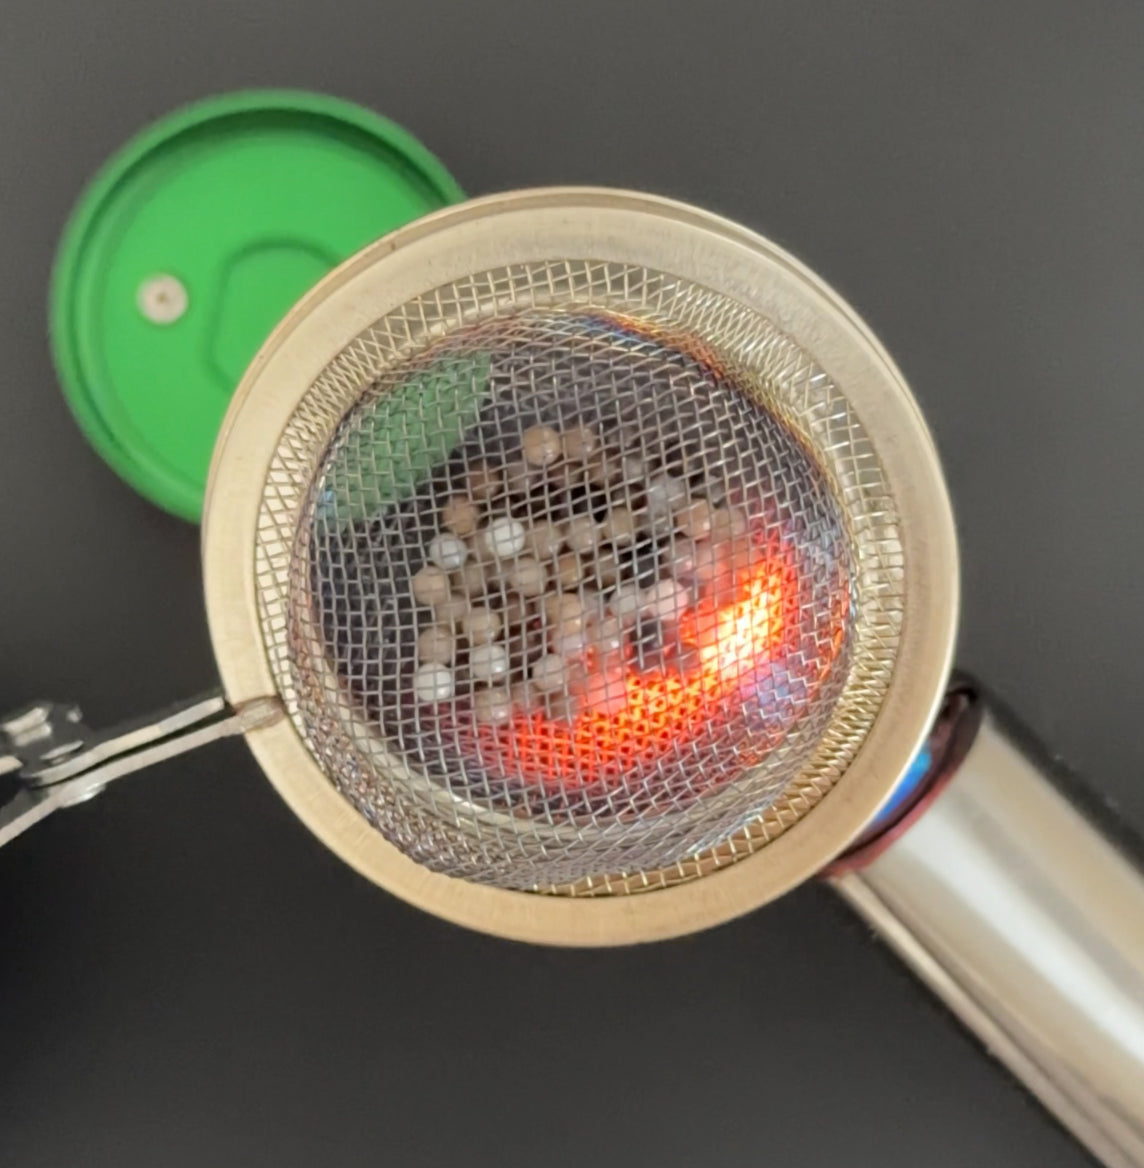
(Recommended after every 300 bowls)
Ball cleaning
To deep clean the balls, remove them from the Cap and put them in a mesh tea strainer. Heat them repeatedly with a medium or large torch until clean. Be careful with glass balls; don't heat them to extreme temperatures. Have a safe place ready for the strainer while the balls cool, which can take a few minutes.
Alternatively, leave the balls overnight in concentrated liquid sugar soap (a degreasing cleaner) in a small shot glass or plastic tube, then shake them until clean.
Disassembly and assembly of the indicators

Disassembly
Only attempt this with a clear head and fine-point tweezers. Never pull the spring too hard while removing it; it can bend and stop working.
- Loosen the screw on the bottom of the Cap by 2 mm.
- Place the Cap on a magnet and unscrew the indicator housing.
- Grab the middle of the visual indicator spring and pull it up until it's out of the housing.
- Remove the screw.
- Remove the pointer (green part): turn it to the beveled section on the inner wall of the housing, then lift the other side. It only comes out in that position.
- Turn the housing over, and the click discs will fall out.

Assembly
Never force the spring; it can bend and stop working.
- Place both click discs into the housing, facing the way shown in the video.
- Install the pointer by pushing it into the side opening at the beveled section on the inner wall. The two small posts on the pointer must face the small hole in the side of the housing.
- Place the screw on a magnet and push it into the housing, centering the pointer.
- Move the pointer to the starting position.
- Turn the housing so the small slot on the side faces away from you.
- Wind the spring, holding it the way shown in the video (the direction is very important). Either:
(a) wind it up with the tweezers, pinch it with your fingers so it won't unwind, then move the tweezers to the outer end of the spring to hold it together; or
(b) hold the spring with your fingers, push the little leg into the hole in the side wall at a slight angle, then push the spring into the housing. - Insert the outer end of the spring into the hole in the side wall, then lift and turn the center so it sits between the screw and the posts.
- Screw the Cap back onto the indicator housing, turn it into place, and tighten the screw.
How to use the Wand IH with adapter
Installing the Wand Adapter V3
Use the Tempest to push the glass cup to the correct depth, as shown in the video, so it sticks out slightly from the bottom of the Wand IH.
If the glass cup is hard to push into place, don't force it, as it can break. Check that the silicone insert hasn't bulged out on the other side, as this can stop it going in completely. If needed, reinstall the silicone.
How to use
Set the temperature from the settings table and let it run until the "Timeout" message appears.
For a stronger roast, increase the temperature setting in 10°C / 10°F increments or gently push the adapter 1 mm further down.
For a lighter roast, lower the temperature setting or raise the adapter.
A deeper adapter increases conduction in the bowl, which helps with an uneven roast or a slow-starting draw. A higher adapter (Wand IH glass closer to the bottom red line) increases convection, which can improve flavor, but may roast unevenly if the bowl is packed too tightly.
When heating with the Wand IH, ignore the click indicators. Heating power drops to about 20% when the LED turns solid red, so there may be a 5–10 second delay between the click and the "Timeout" message.
When the battery level drops to 50% while not heating, consider raising the temperature setting by 10°C to make up for the weaker battery. The battery level drops a lot during heating; this is normal. Expect about 10–15 heat-ups from full charge to empty.
The glass adapter gets very hot. Don't touch the bottom of the glass or set it on anything that could melt. The Wand Stand accessory keeps the glass raised.
